Head to Celonames App
Navigate to the Celonames app and connect your wallet to the Celo network.
Search for an Available Name
Search for a name you’d like to register. The app will show you if it’s available.
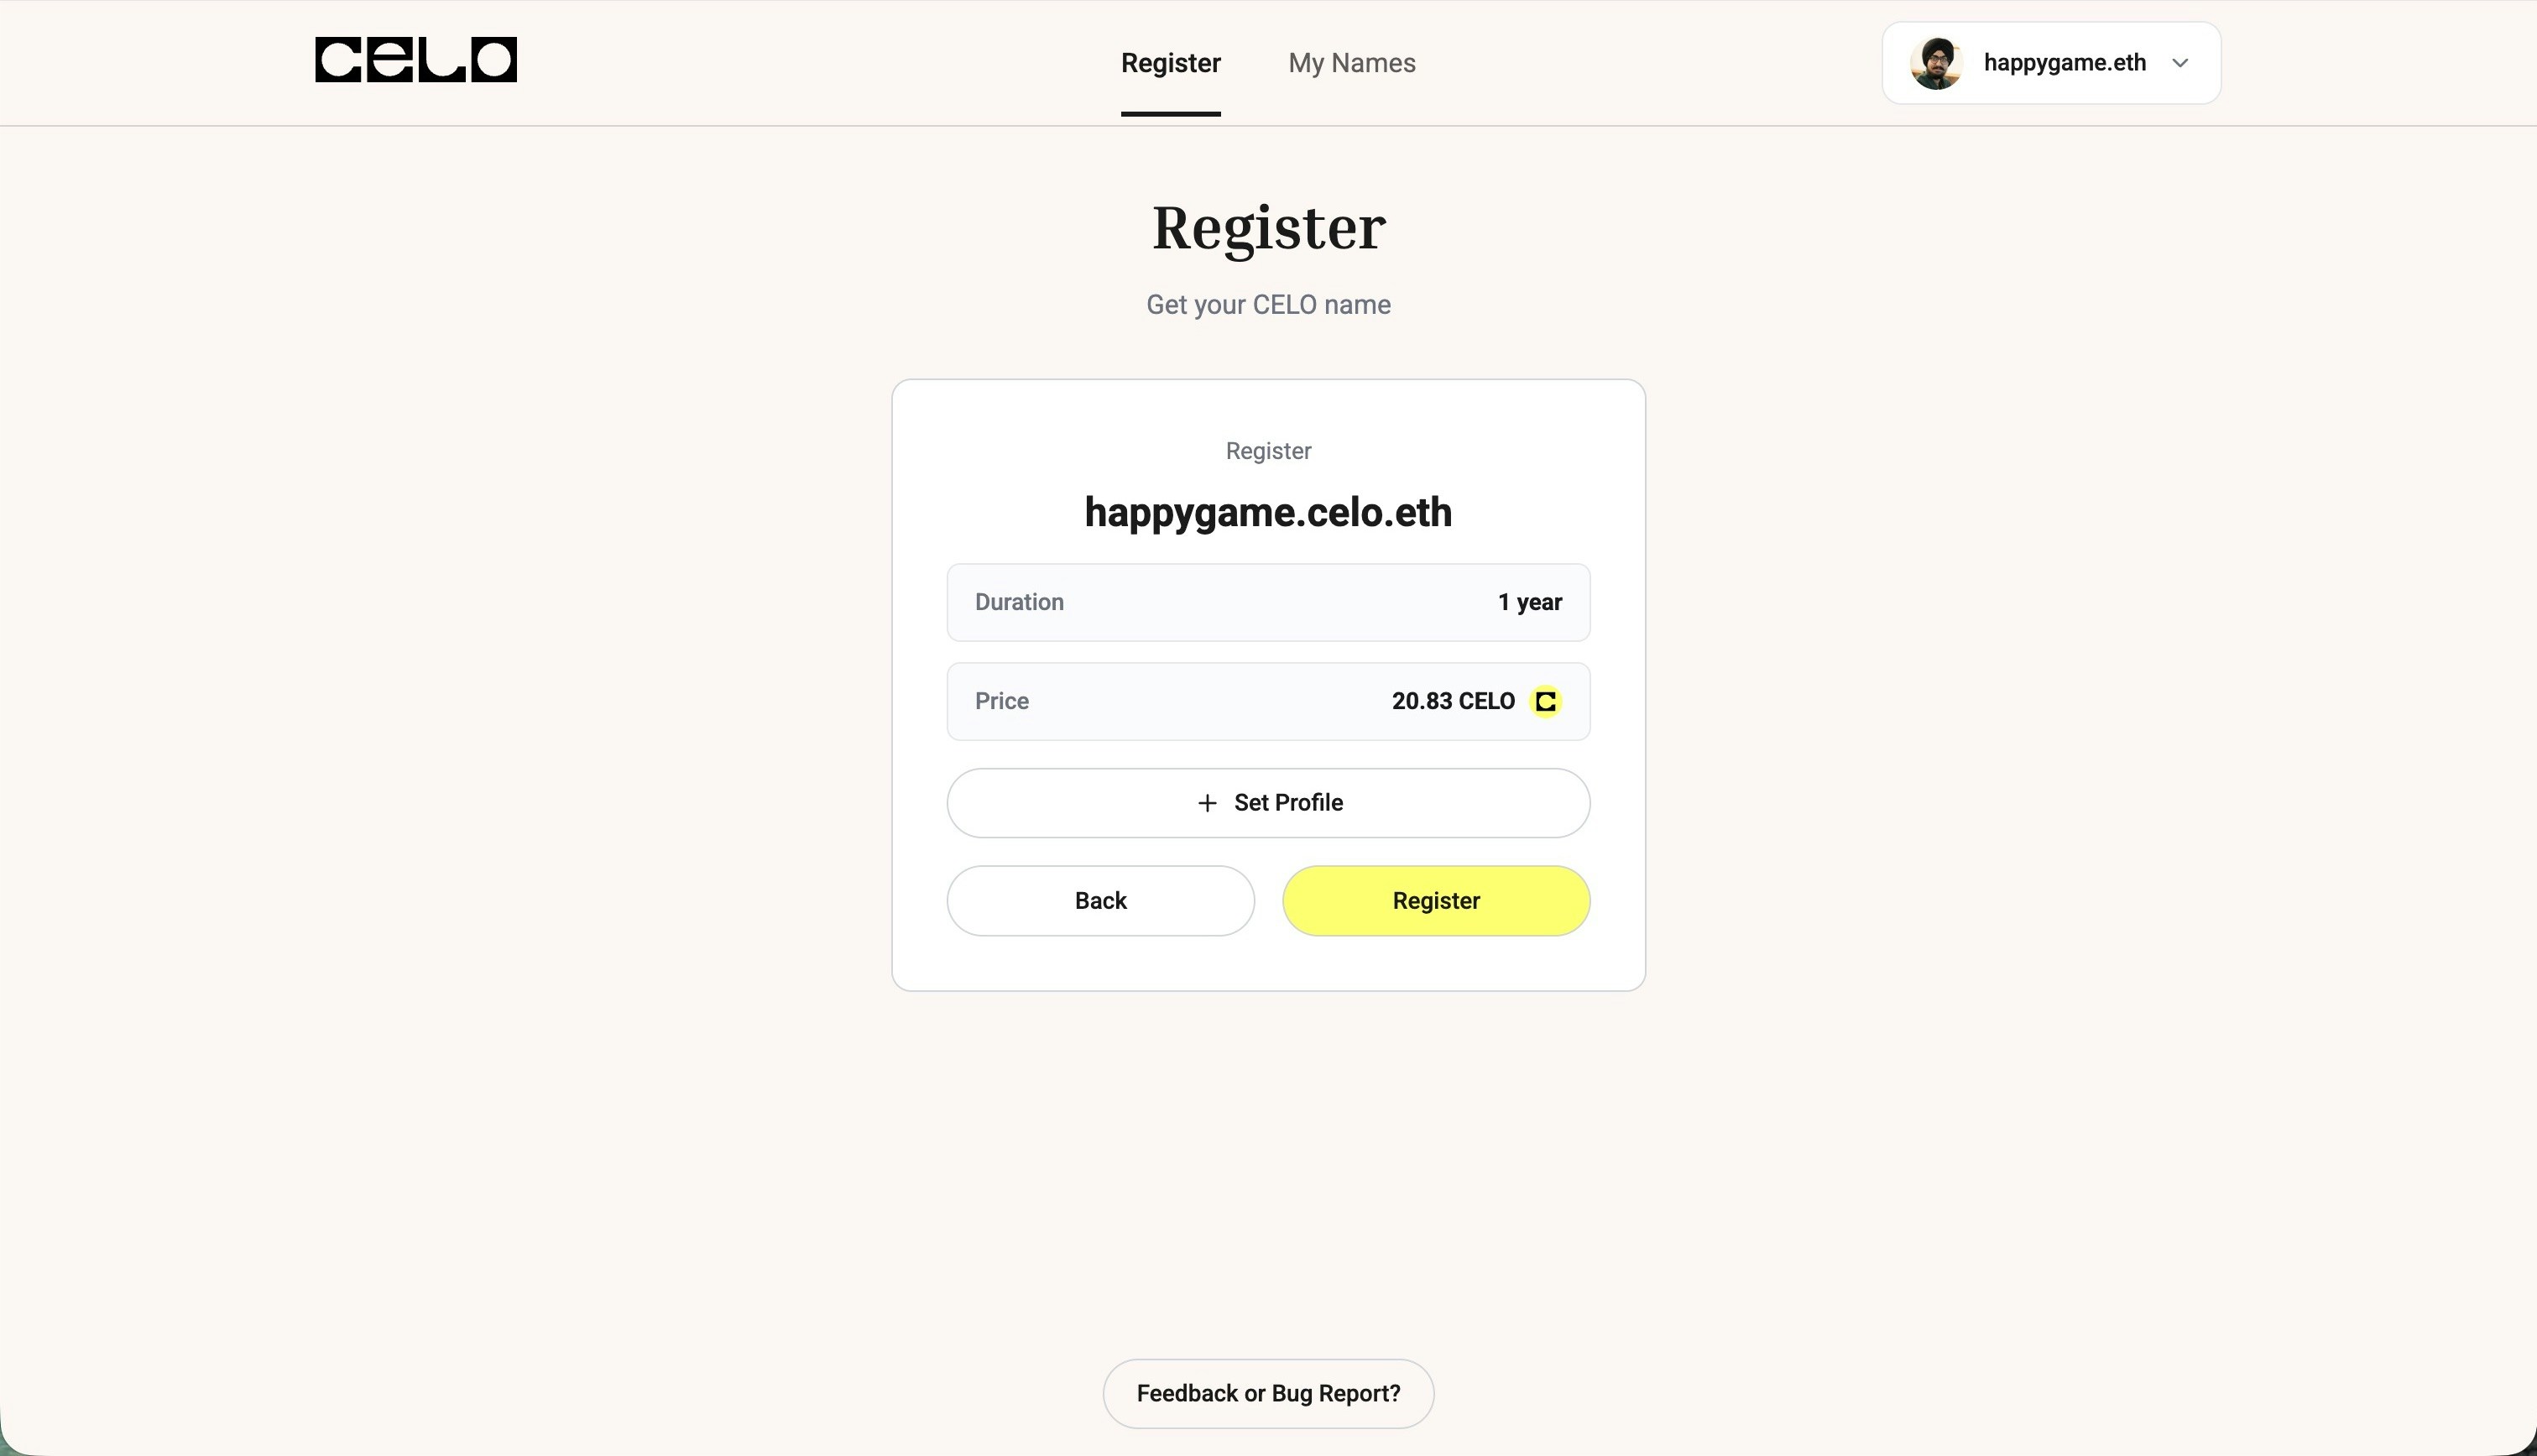
Choose Registration Duration
Select how many years you want to register the name for and choose your preferred payment token (CELO, USDT, USDC, or cUSD).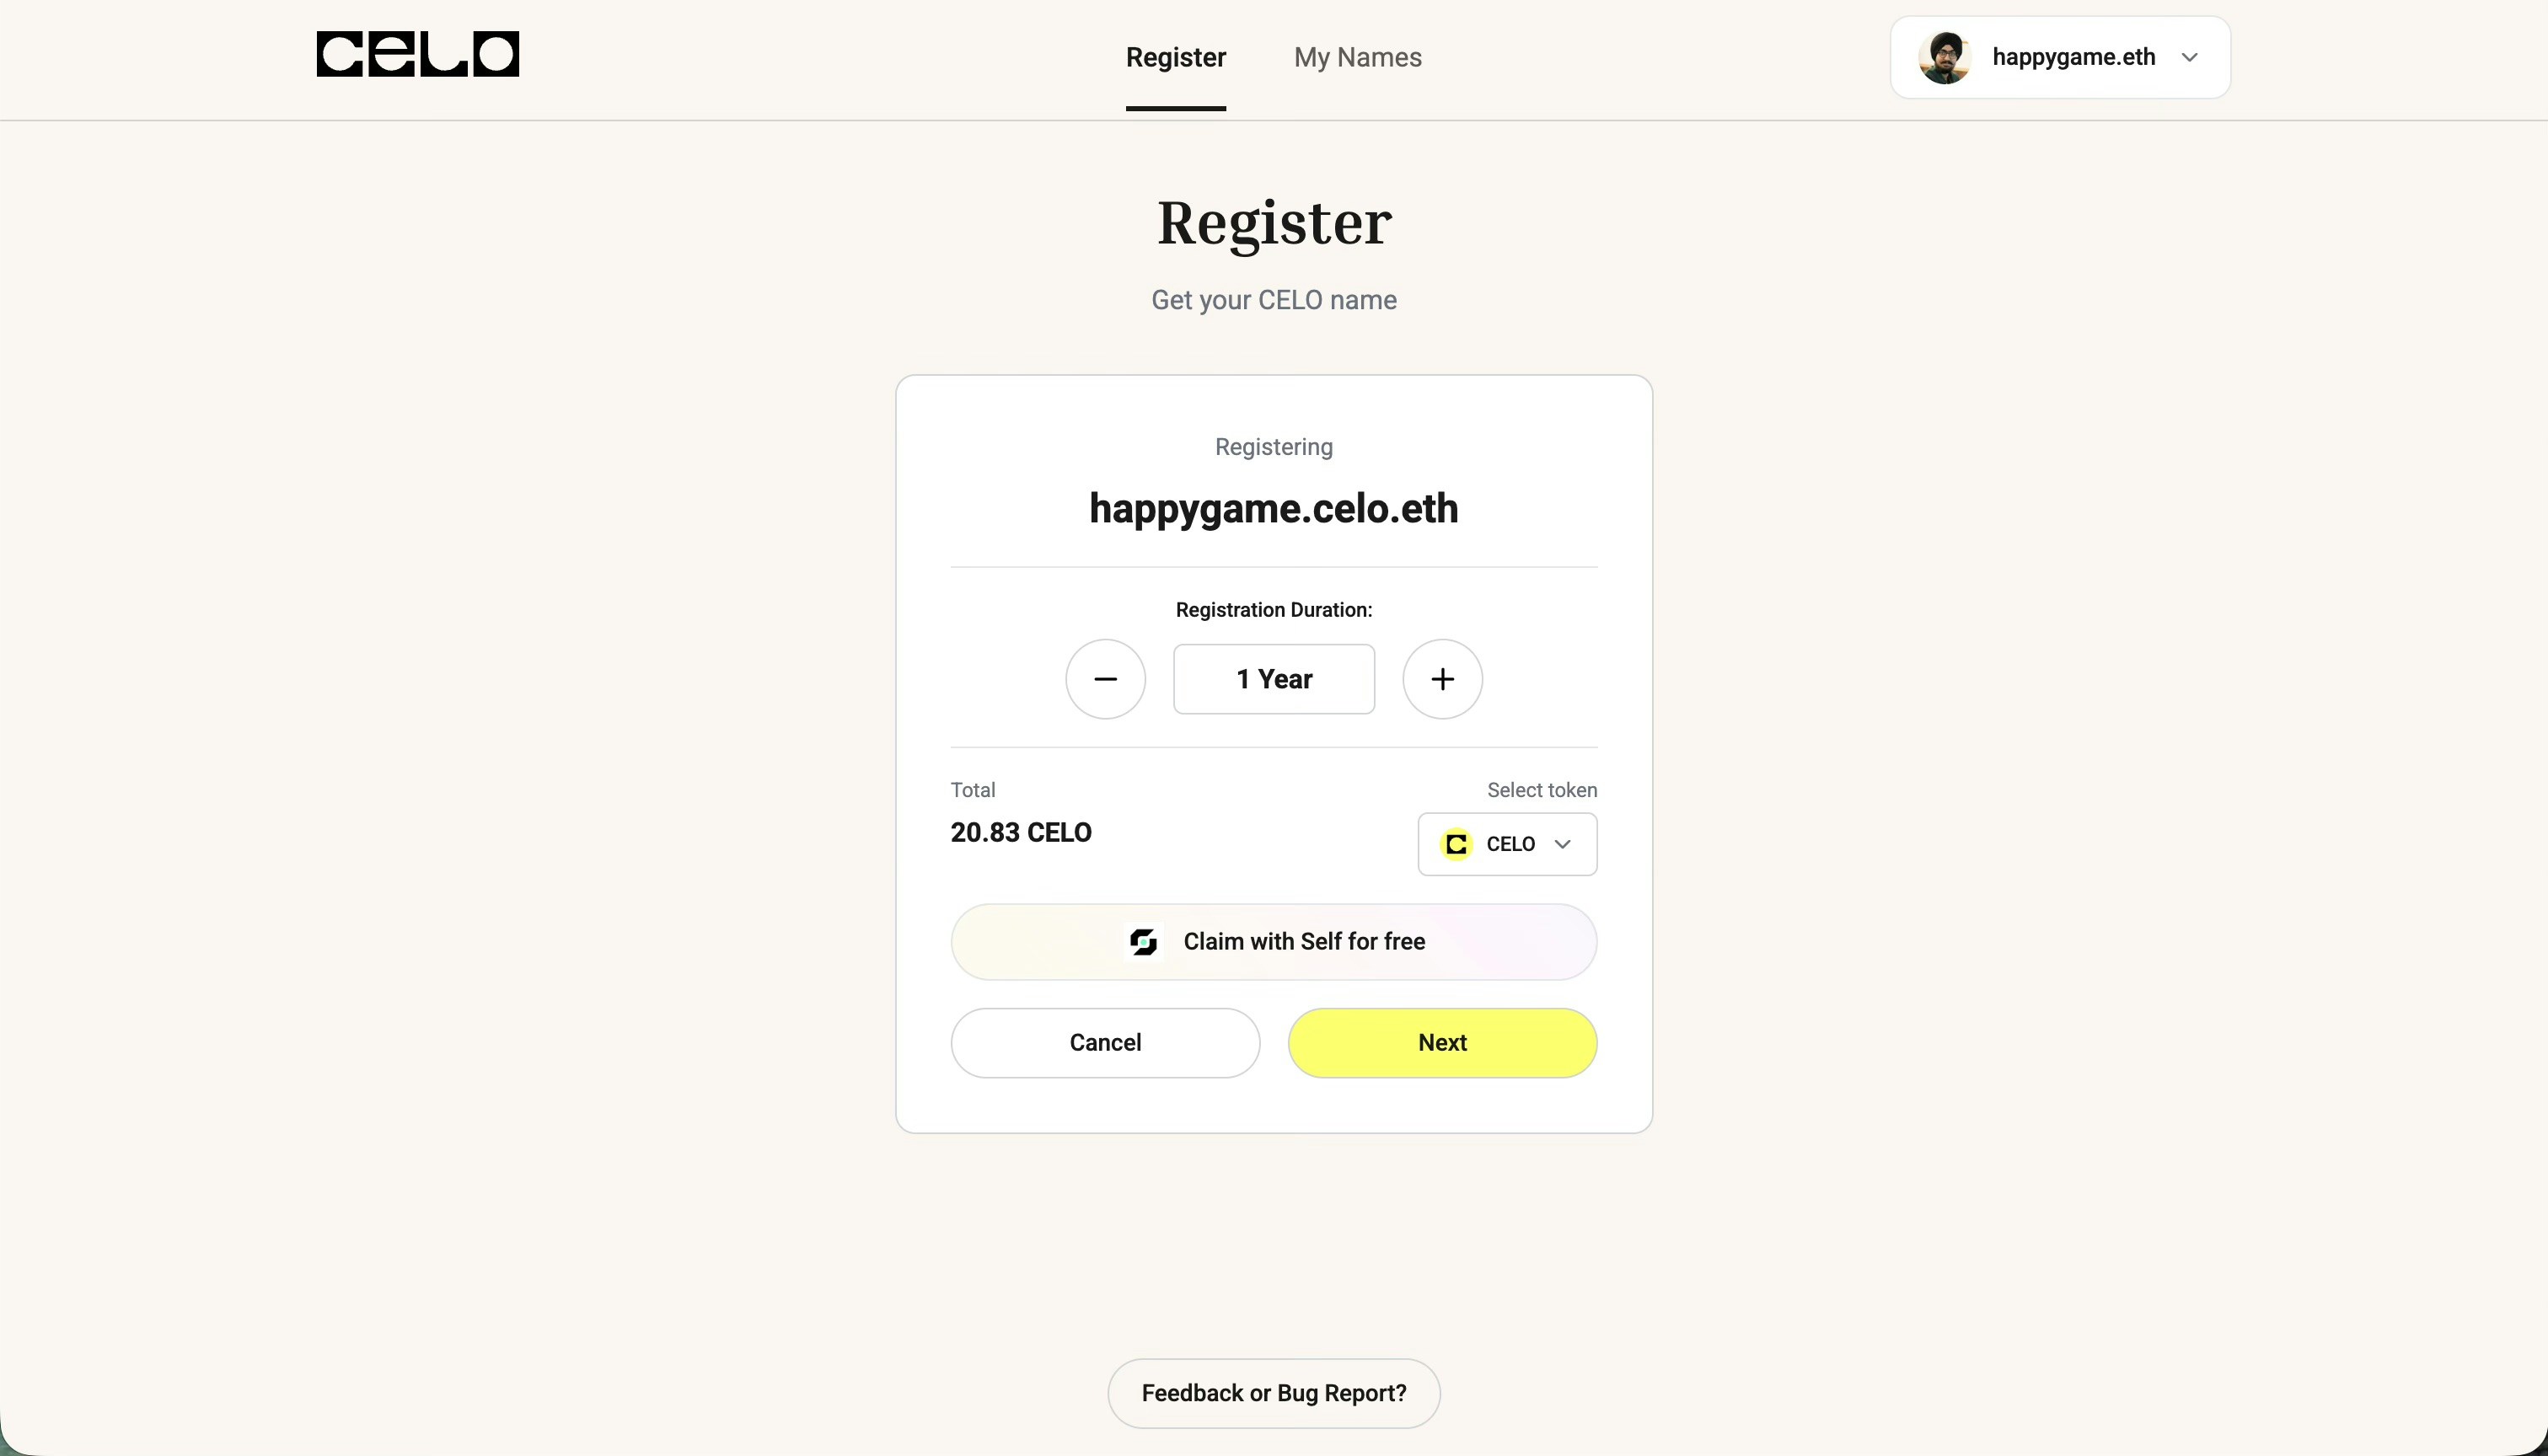
Add Profile Details
Once you’ve selected your registration duration, click next to add your profile details like avatar, description, and social links.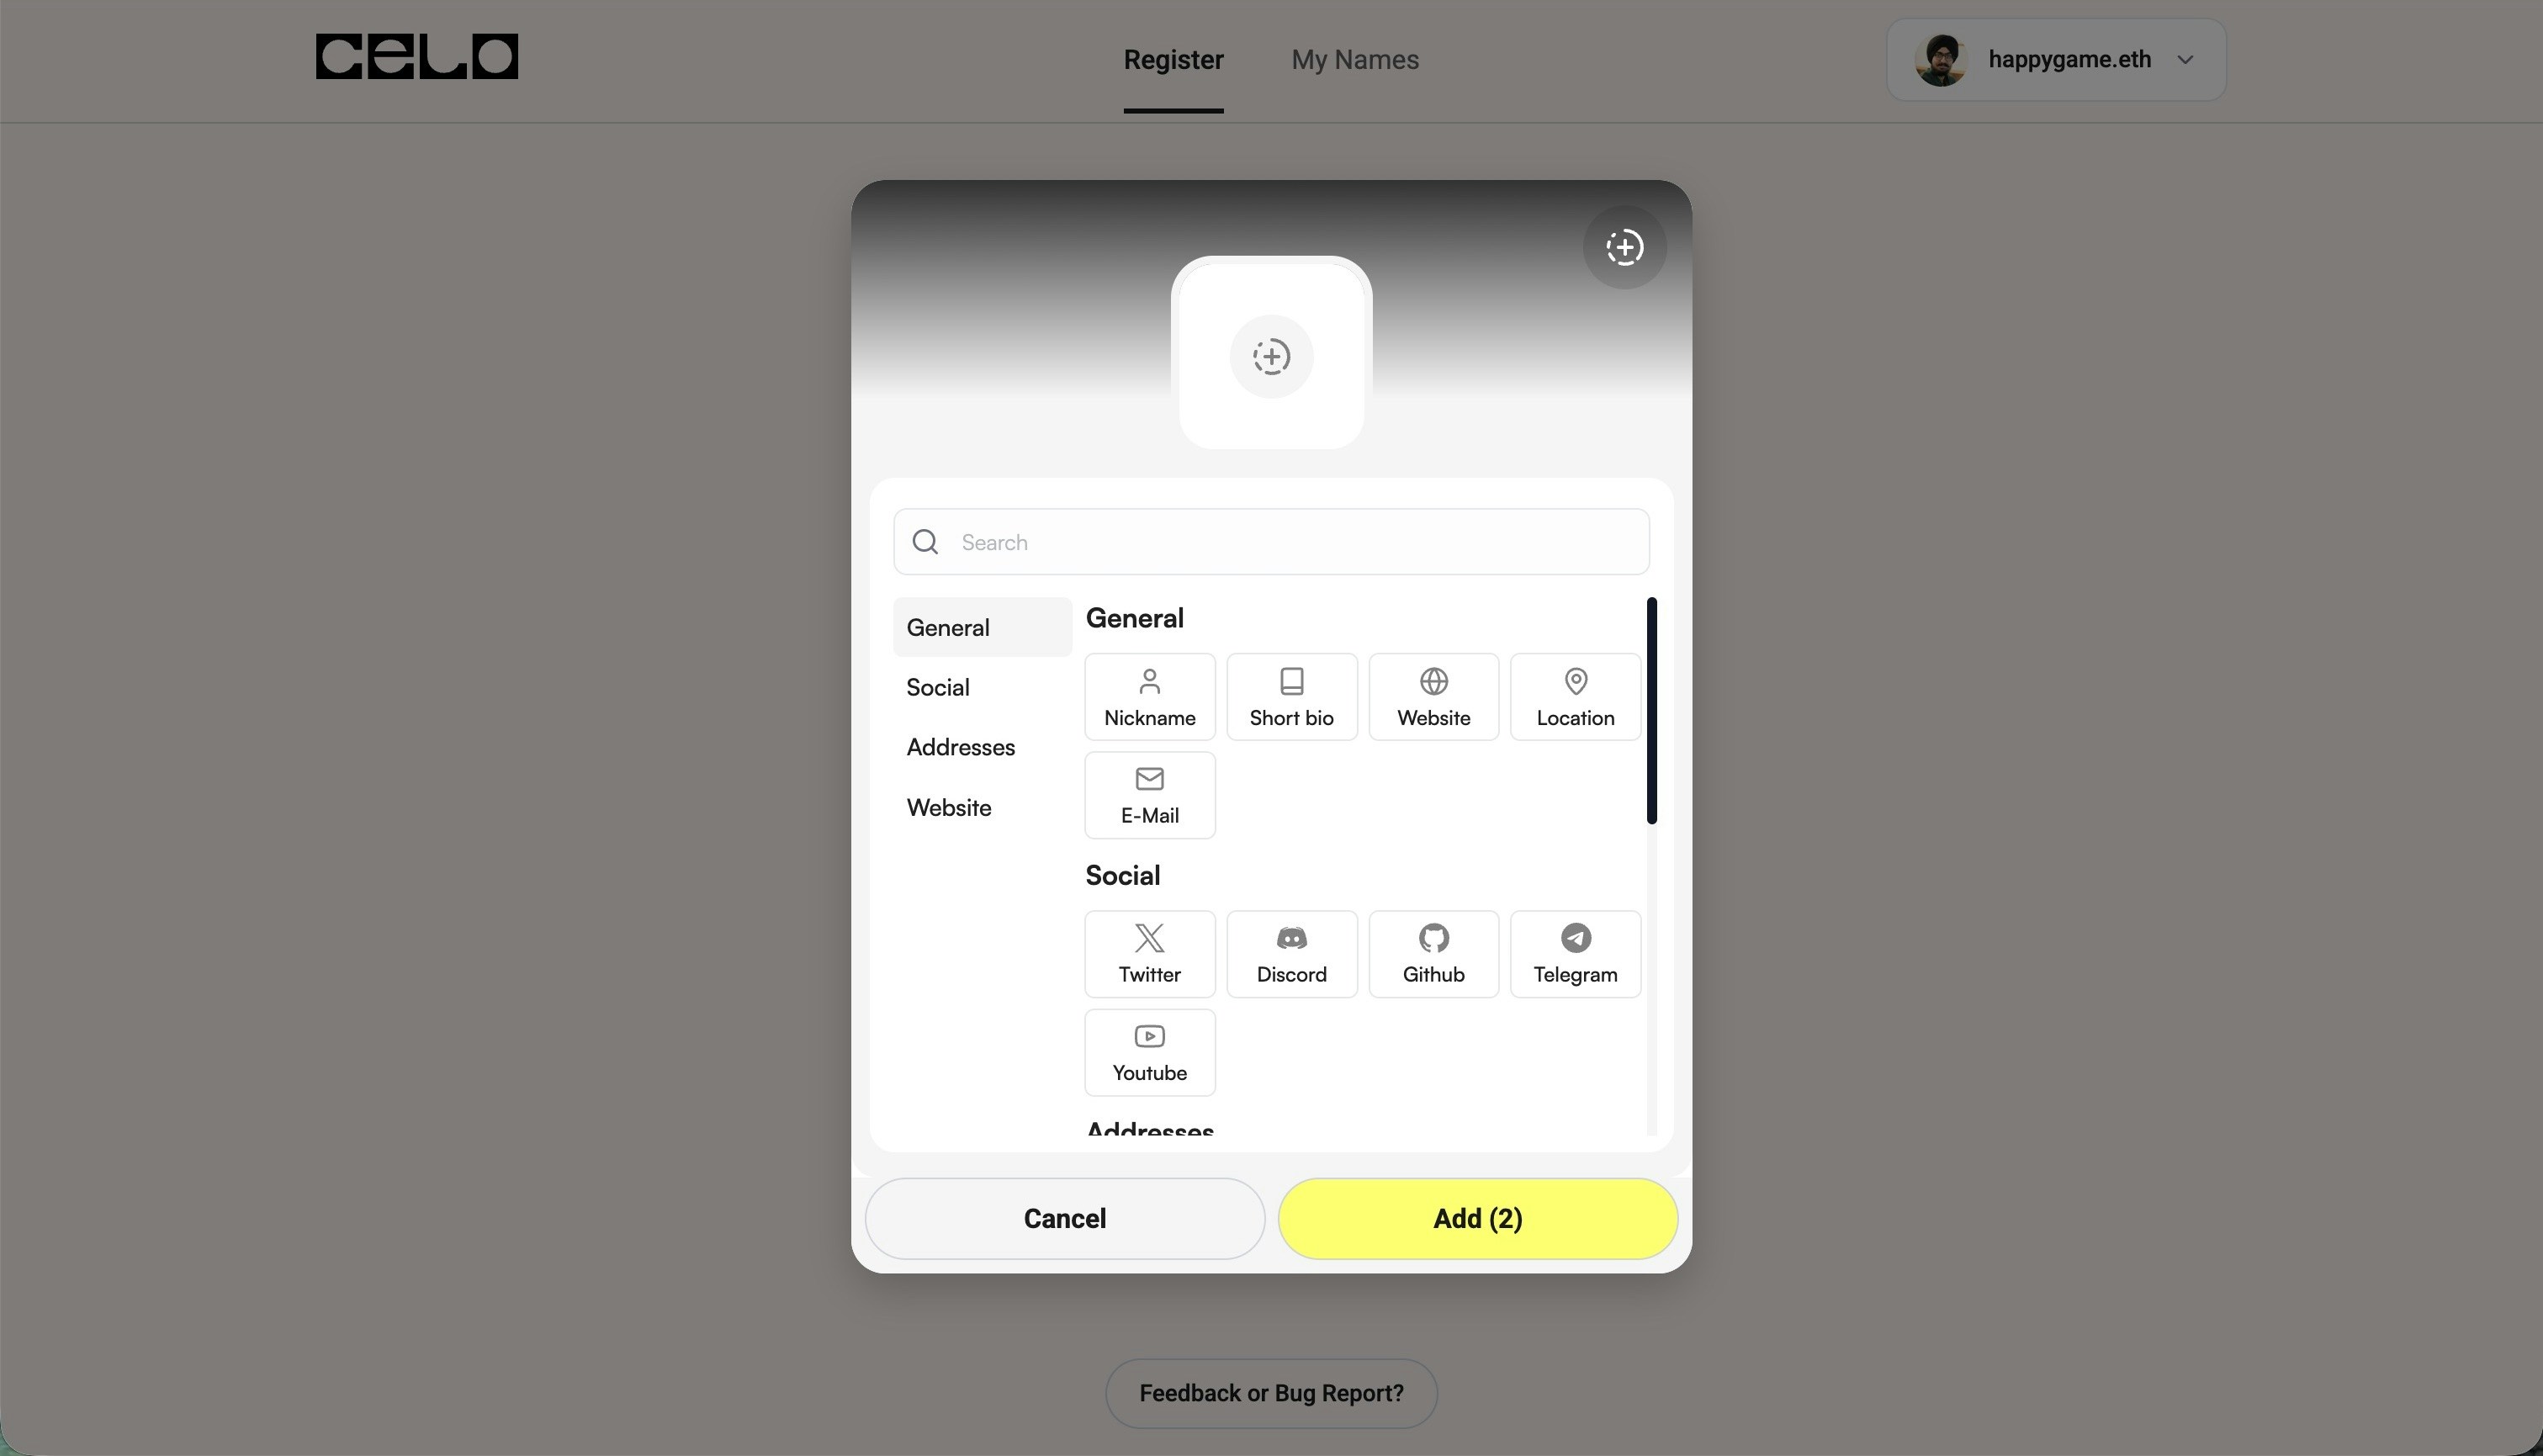
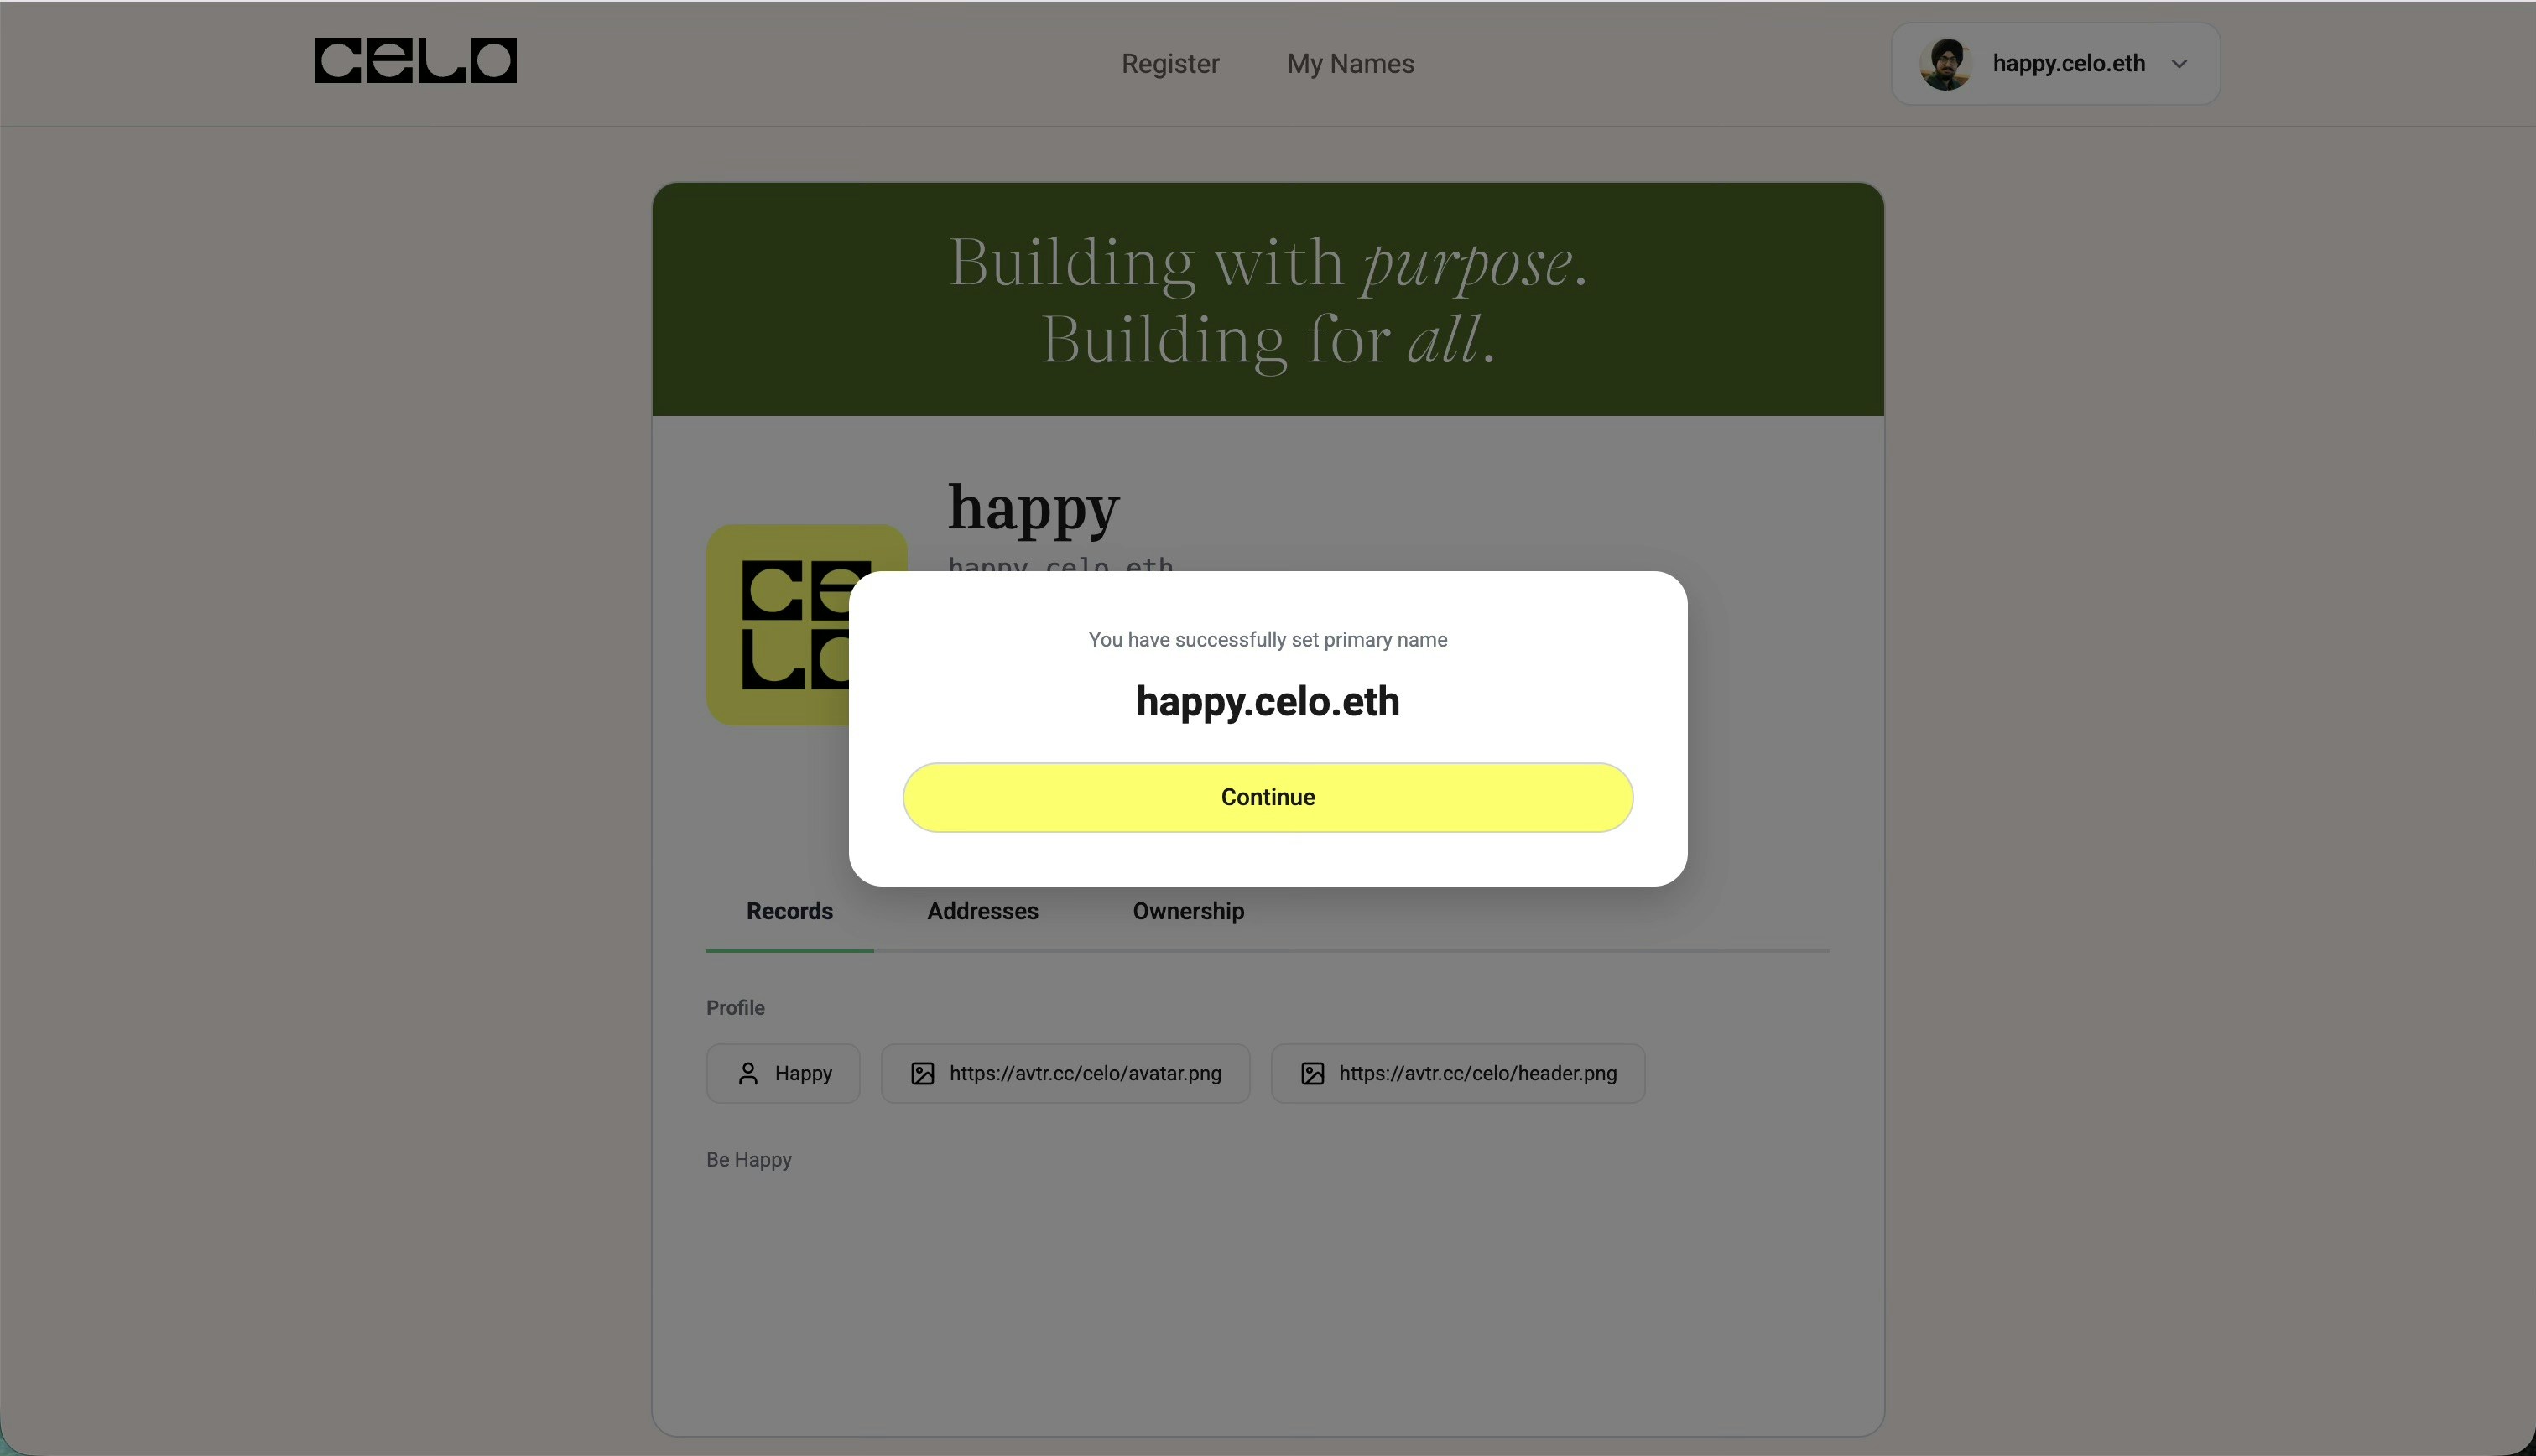
Wait for Confirmation
Your transaction will be processed on the Celo network. Once confirmed, your name will be successfully minted!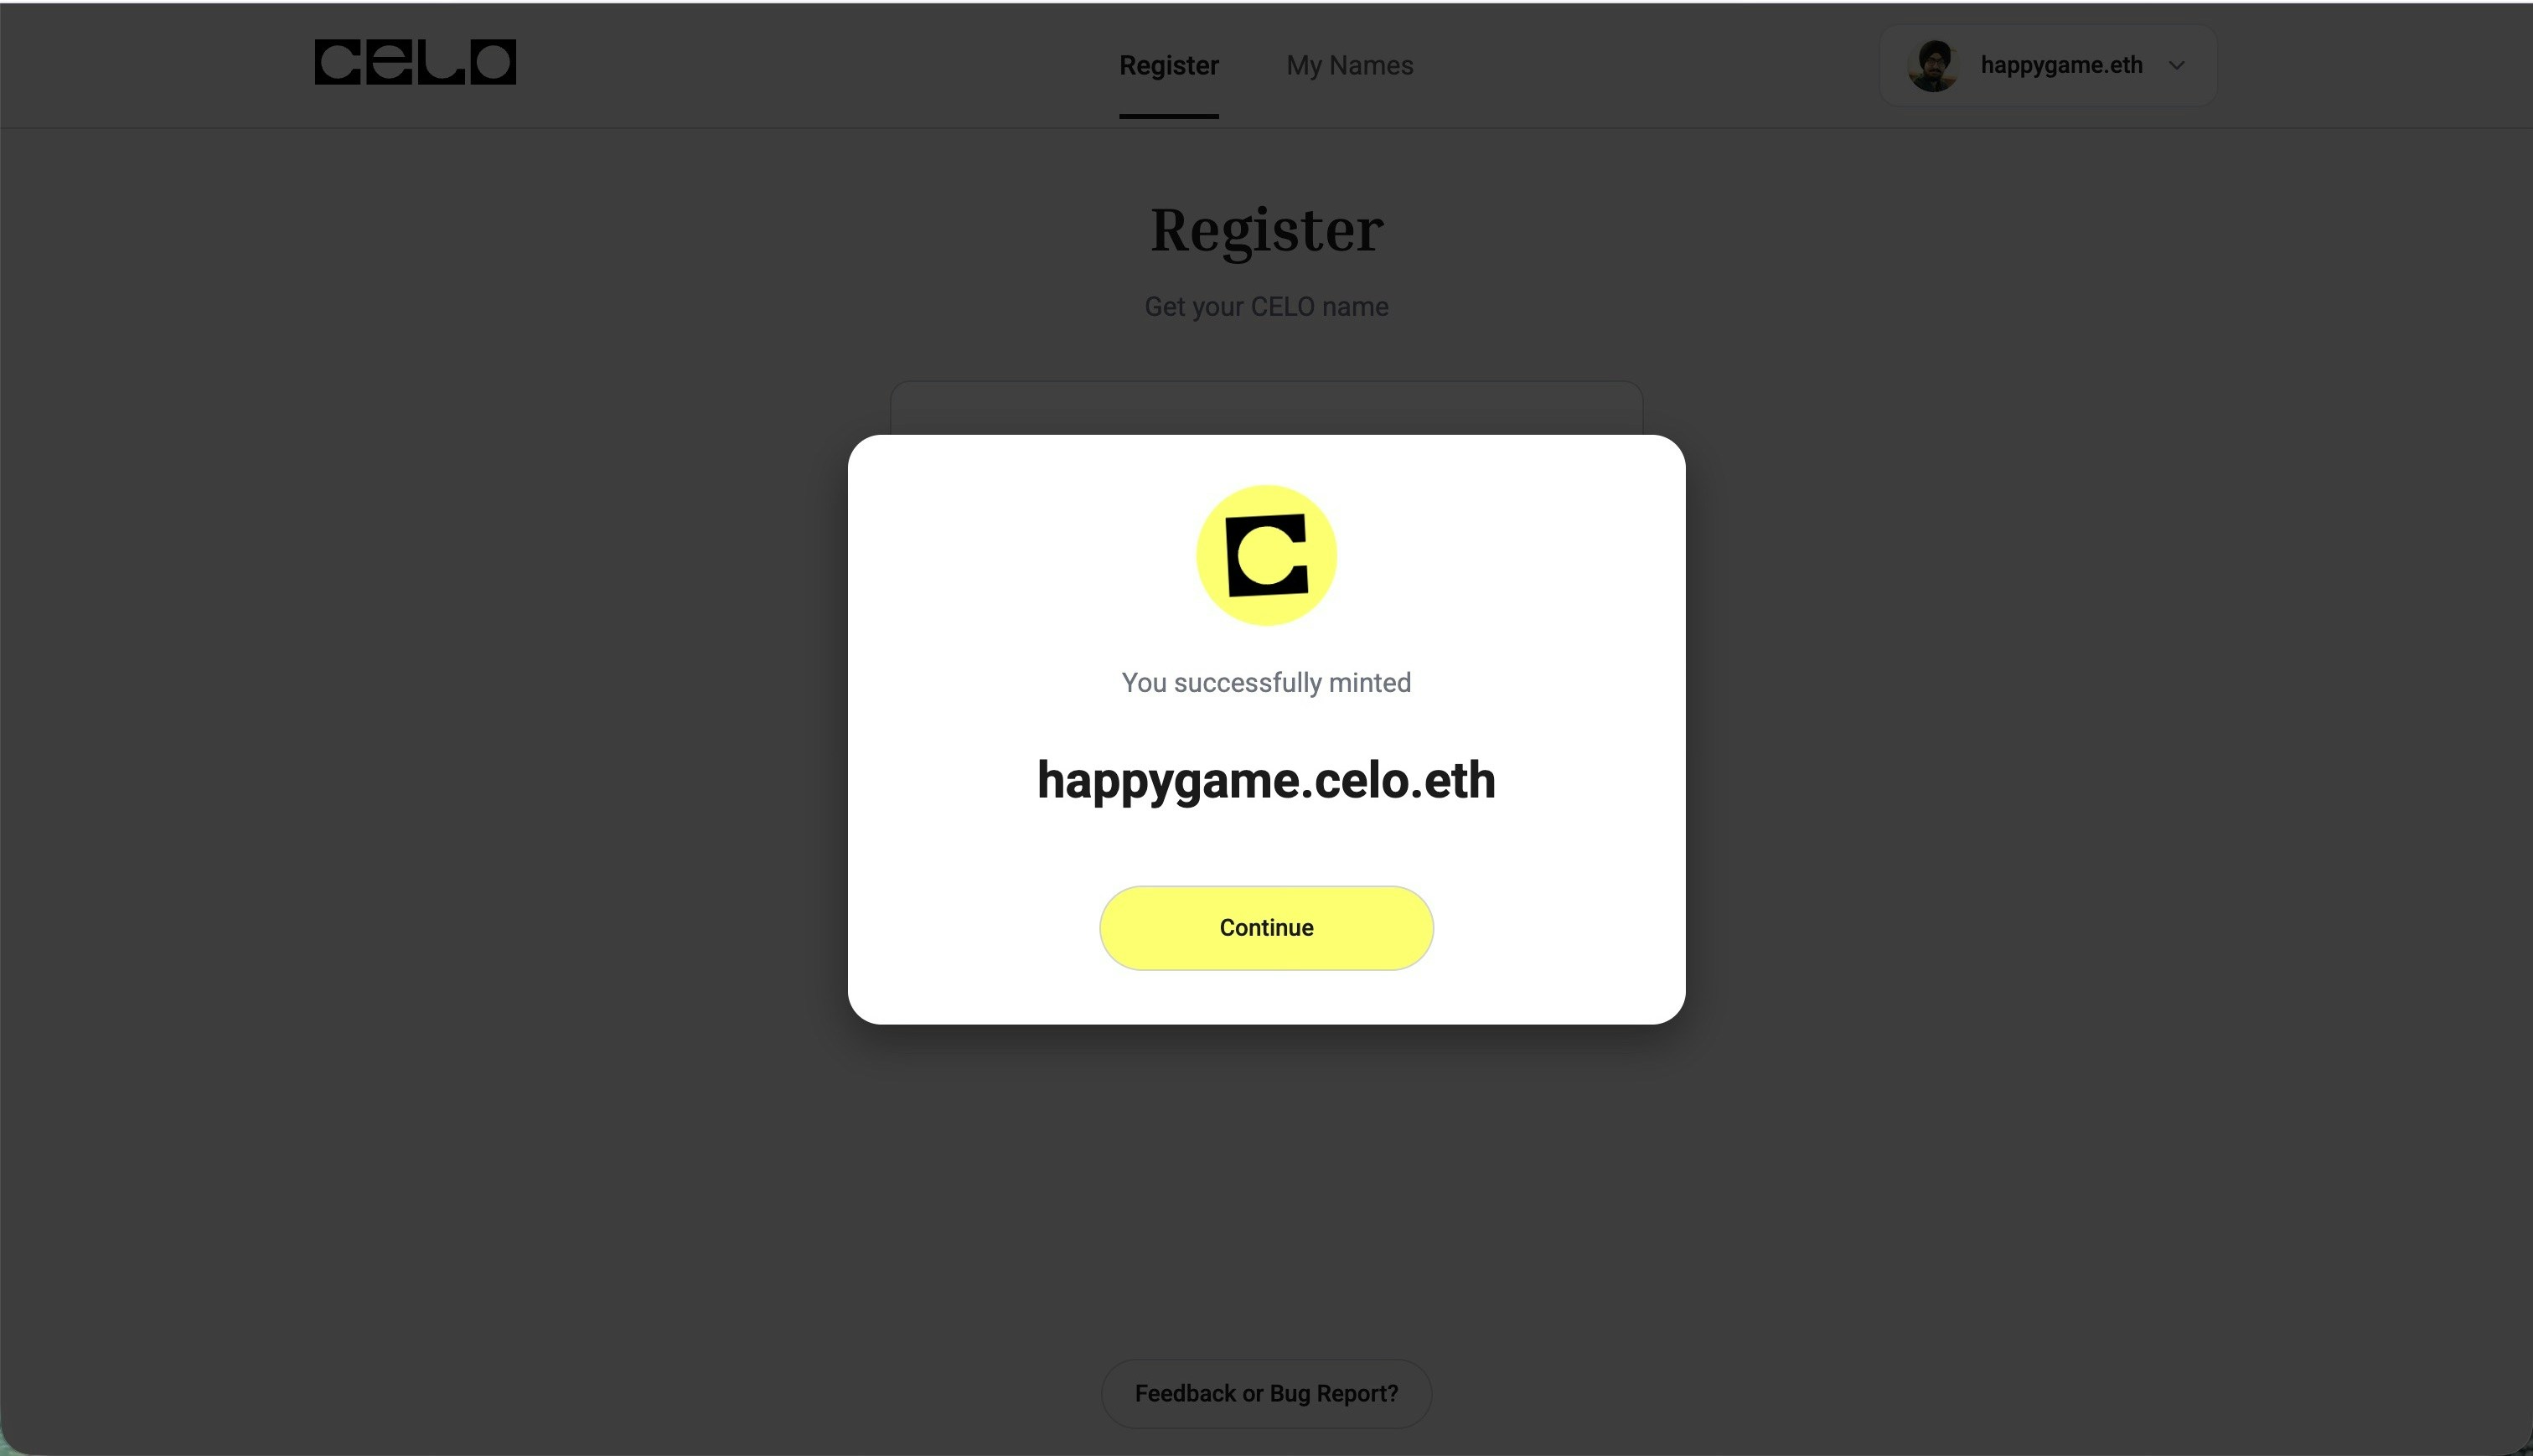
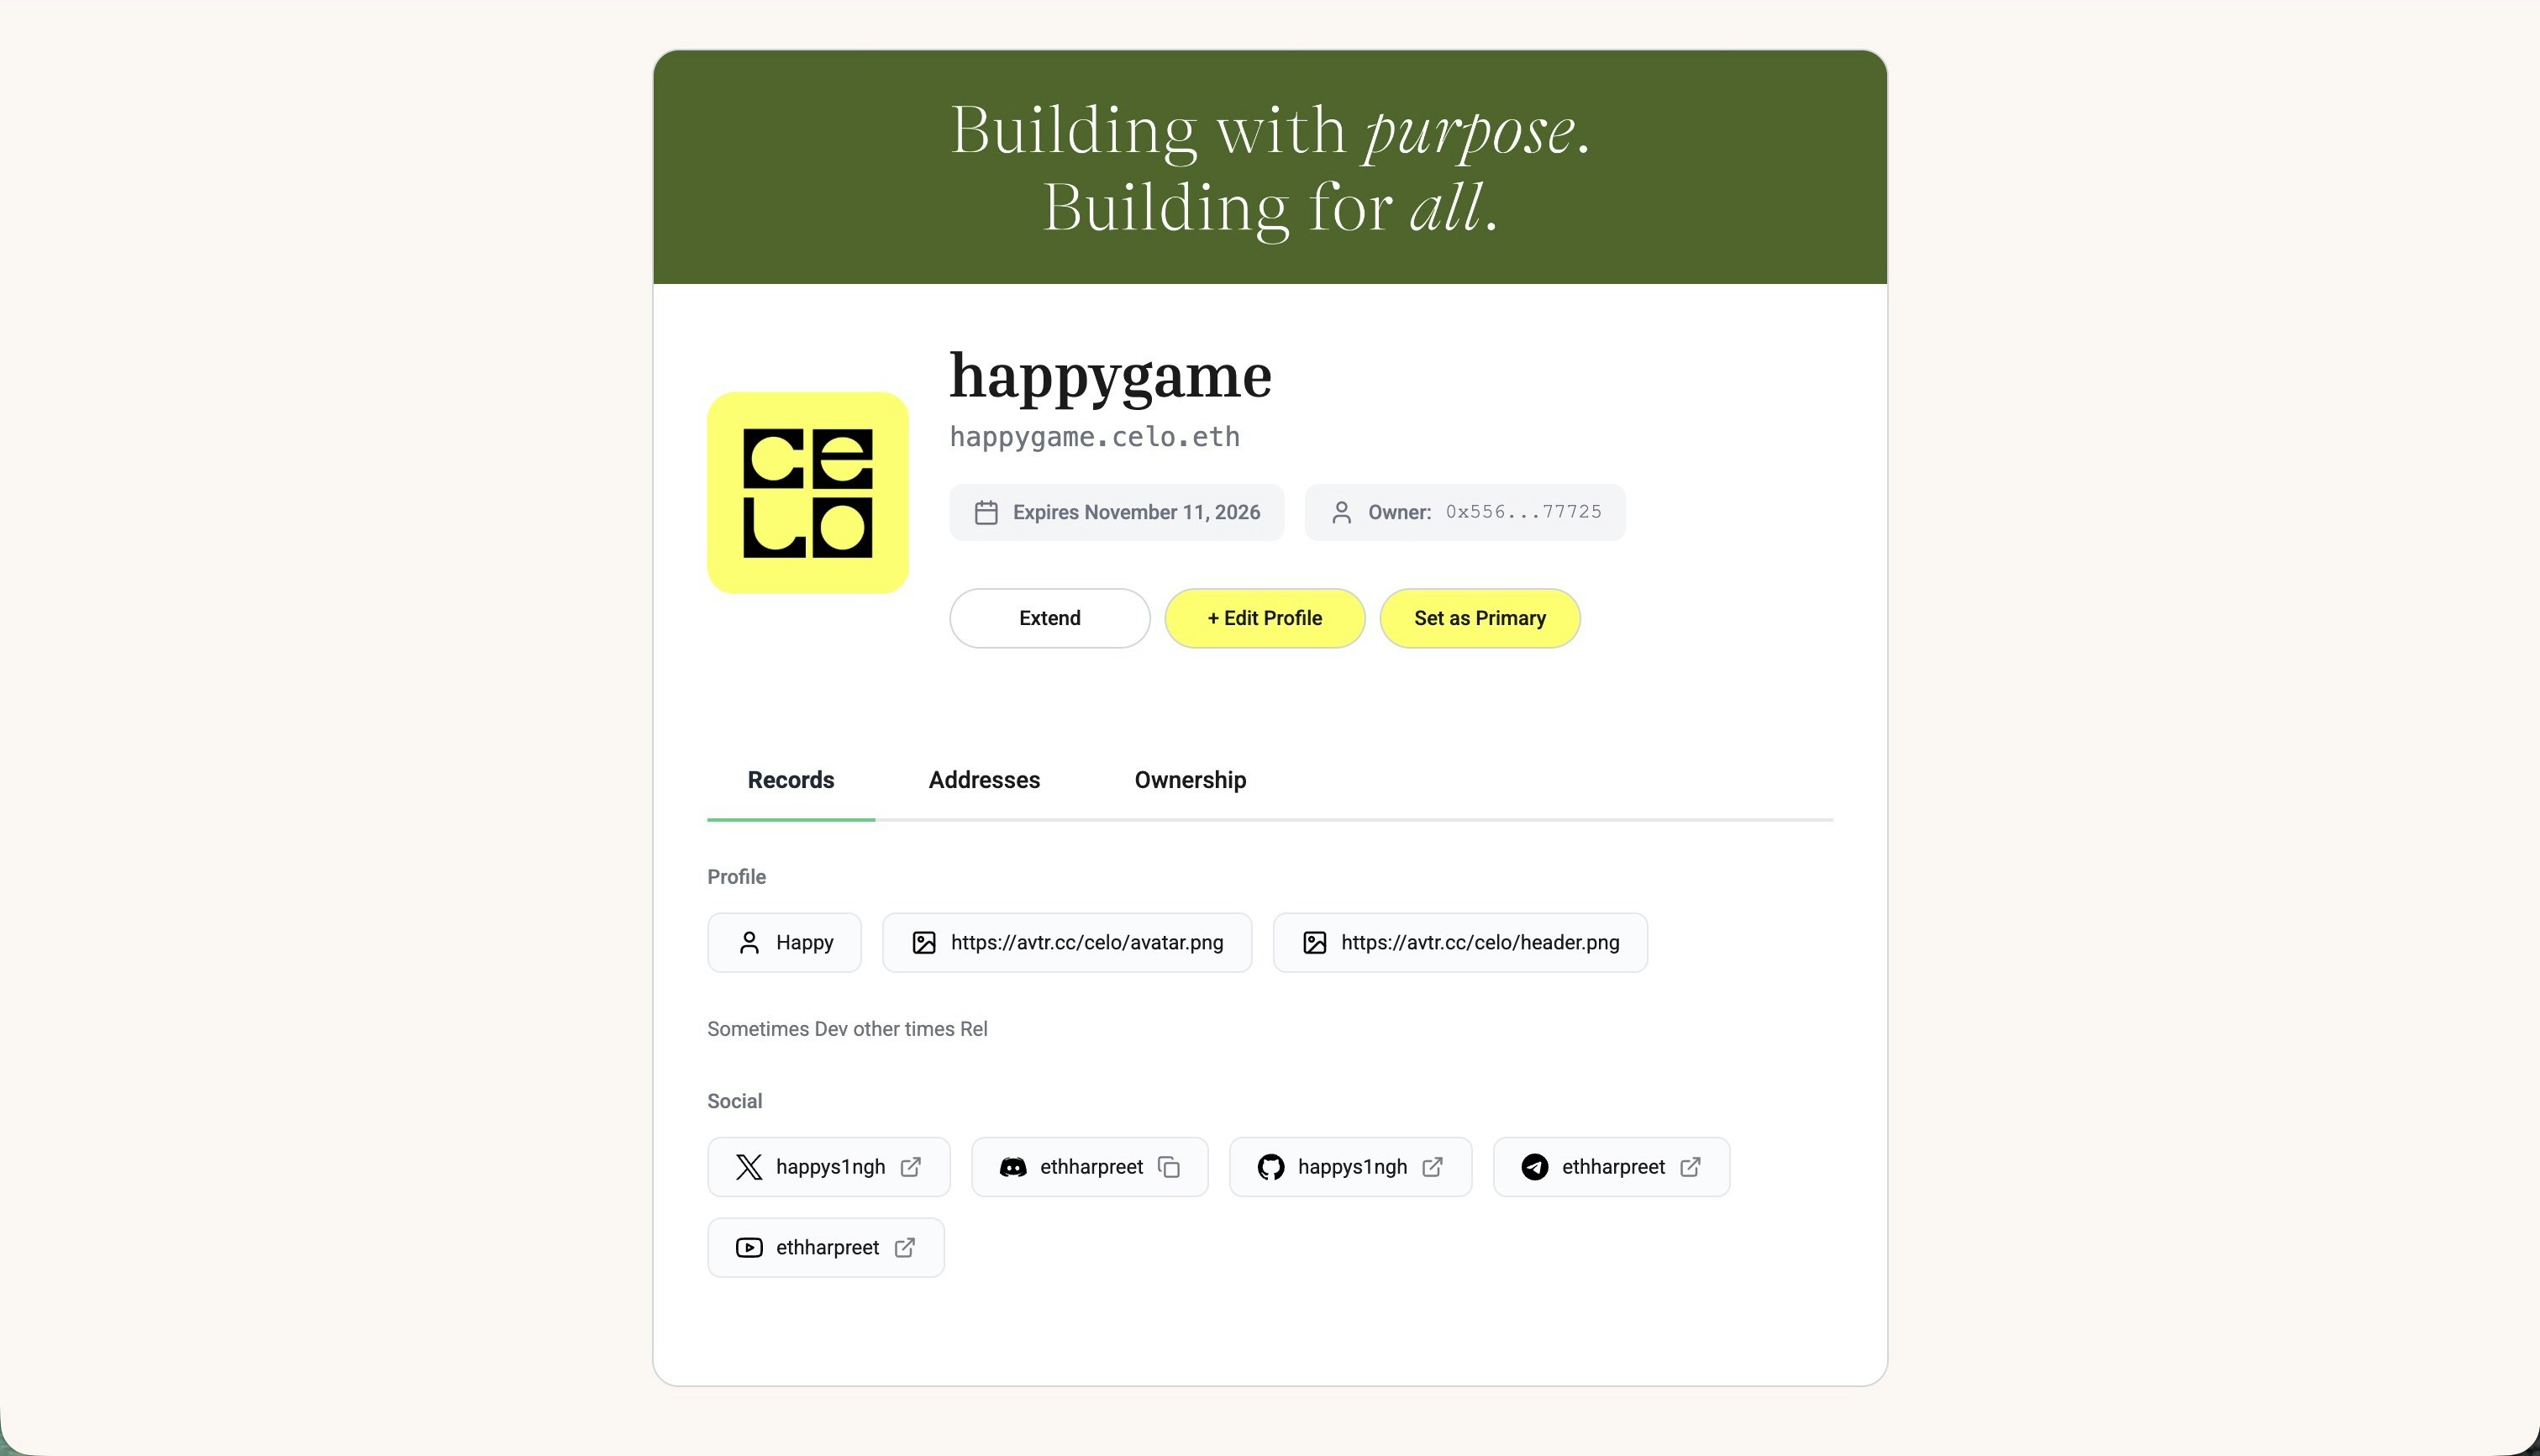
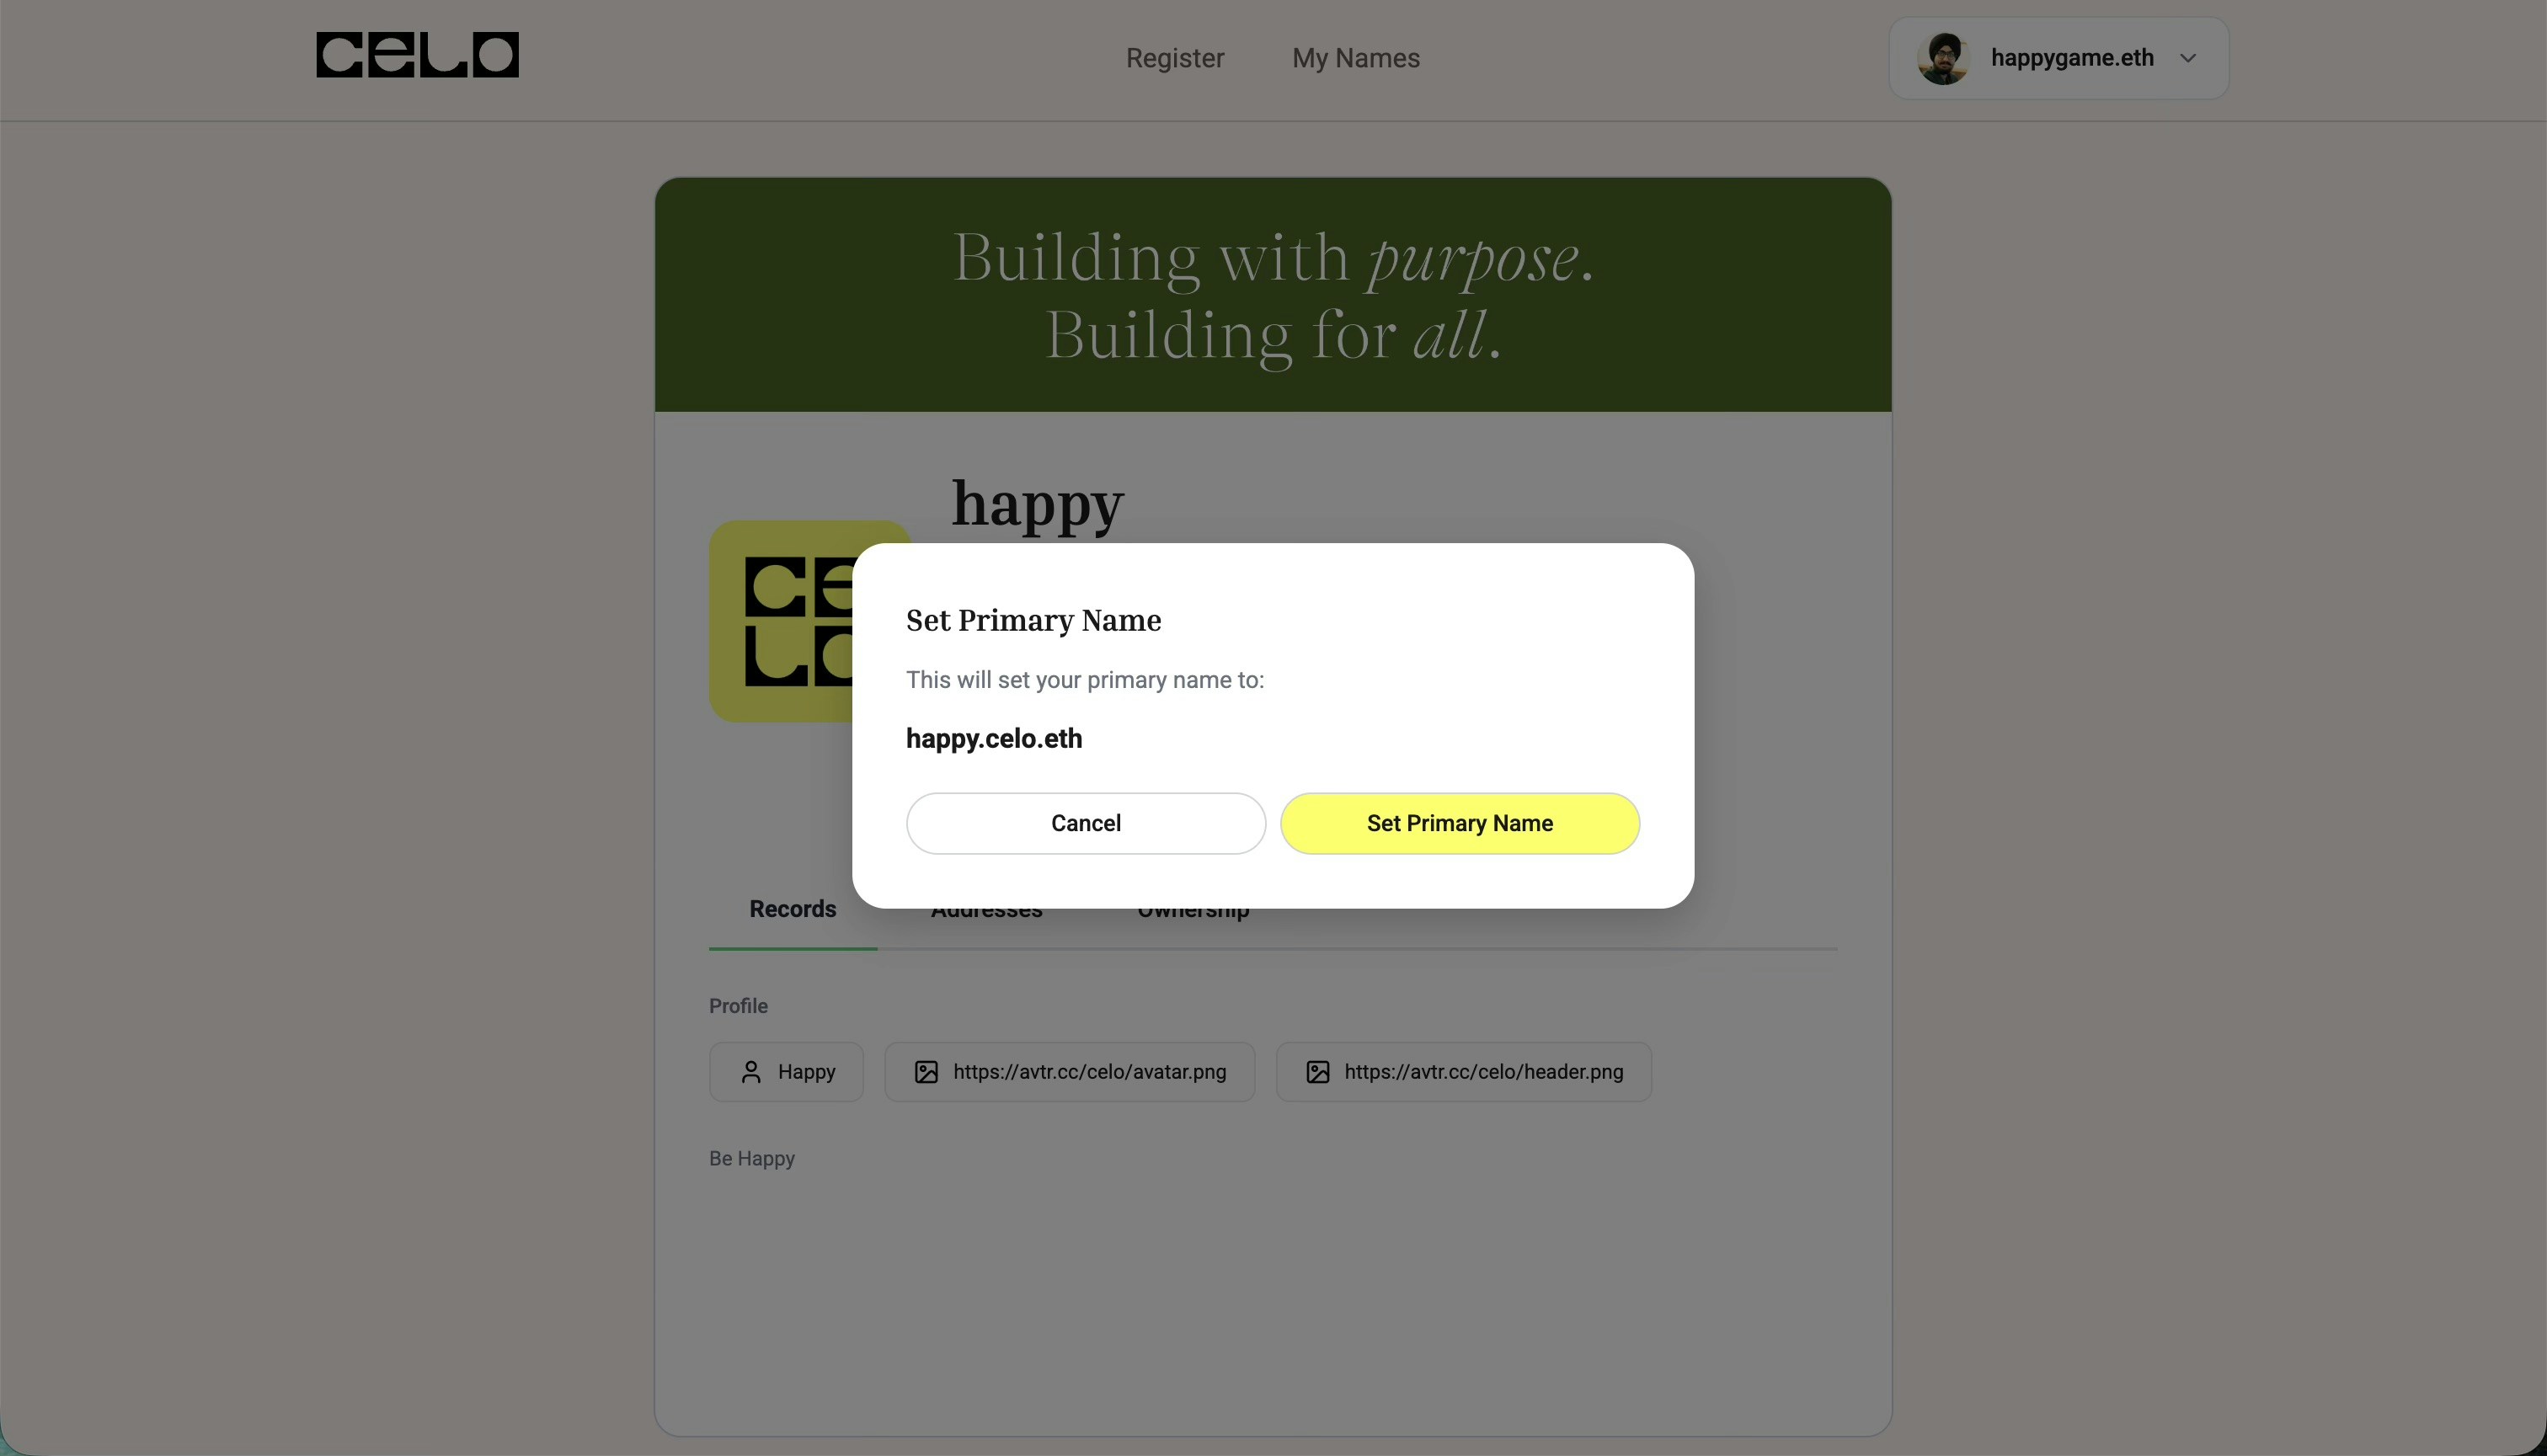
Set as Primary Name (Optional)
Celo Name as Primary Name
Setting a primary name requires a separate transaction on Ethereum mainnet and will incur gas fees on that network.